In this post, you'll learn how to set up a PostgreSQL database in Heroku and then connect it with Laravel. The steps are very straight forward and upon completing this tutorial, you will have an online data stores that you can connect to from anywhere. If you have not deployed your Laravel project to the production then you can have a read on the other post on How to Deploy Your Laravel Website to Heroku for Free. With that of the way, let's get started and connect it right in.
Step 1 - Create Database Instance
To create a new database instance you will have to access the creation page through the menu inside the Heroku dashboard. Create Database Instance Menu By default, Heroku comes with 3 types of datastores but in this post, we'll focus on "Heroku Postgres". Heroku Datastores Do note that since it's a Heroku Add-ons, you will have to install it to have access to the service. On the page below, "Install Heroku Postgres" and then connect it with any of the Heroku applications that you have set up. If you are not deploying your application to Heroku then you can just install the Heroku Postgres on its own without associating it to any of the applications. Heroku Postgres Add-ons
Step 2 - Connect Heroku Postgres with Heroku App Instance
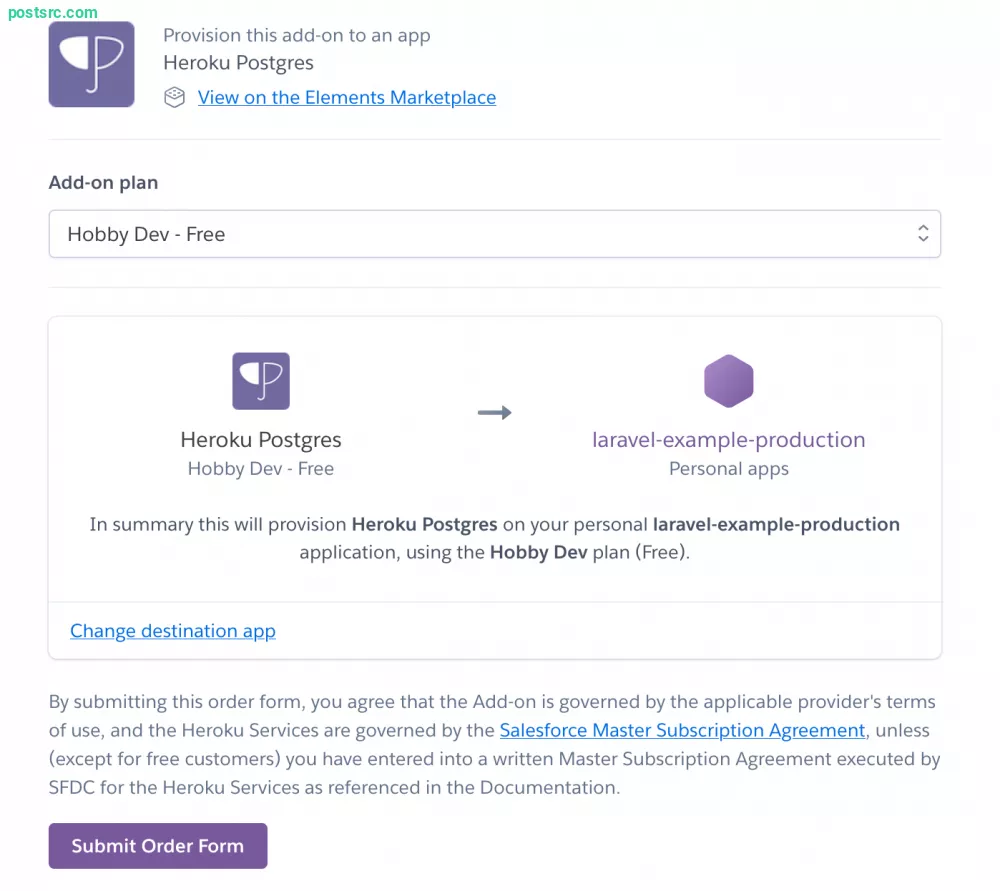
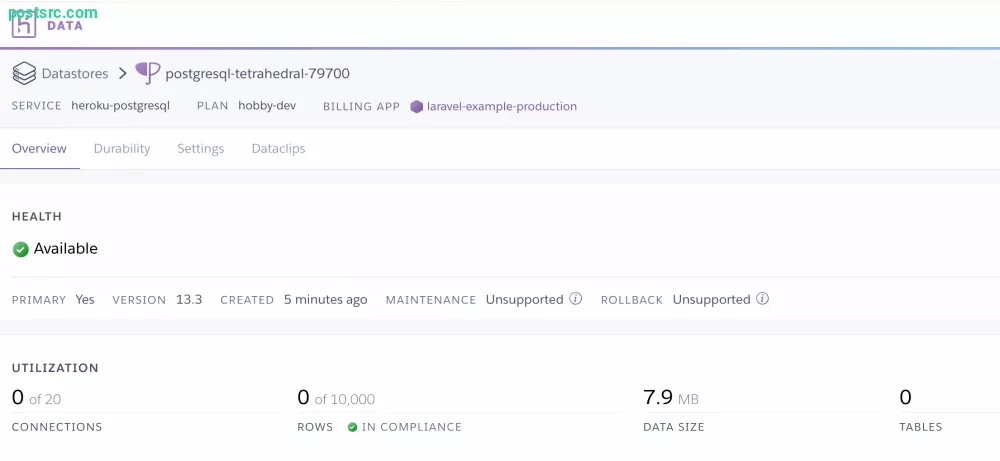
Heroku provides several plans by default, but you can choose the "Hobby Dev" as a starter since it's free to use. On this page, you can also connect this add-on to the Heroku application but if you are planning to use it for non-Heroku deployed applications, you can just continue to create the database instance.Heroku Add Postgres to Project Once it's ready, you will be able to view the database instance from the "Resources" tab of the dashboard page. Heroku Resources Once again if you visit the "Heroku Datastore" page, you will be able to see the newly created PostgreSQL instance on the page. Heroku Data Page By default, a maximum of 20 connections is allowed for the "free" plan and you can only store 10k rows of data. If you need more than that then an upgrade is required. Heroku PostgreSQL Page Info
Step 3 - Retrieve the Credentials
To retrieve the database credentials, you can visit the "Settings" page and here you can "view all of the database credentials". You can make use of these data if you are planning to access the database from the terminal or GUI app and etc.Heroku Database Credentials Page Do note that by default the value of the DATABASE_URL will be automatically set to the Heroku application "Config Vars" (env) previously when connecting the Heroku Postgres to the application instance. In this case, it's using the DATABASE_URL but if you prefer the granular config DB_CONNECTION, DB_HOST, DB_PORT and etc, you can define it one line at a time. Application Config Vars
Step 4 - Run Migration
Now that we have the PostgreSQL instance connected to the Heroku application, you can run the database migration command. To access the Heroku instance you can use the Heroku CLI which you can install using "homebrew" if you are on a macOS. Otherwise, to get the CLI on windows, you will have to use the installer.
brew tap heroku/brew && brew install heroku
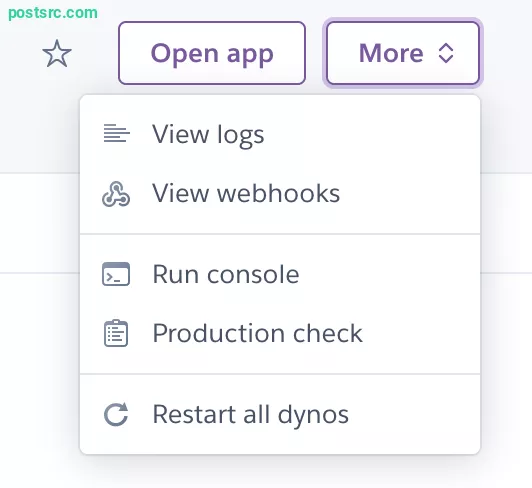
If that's not in your favor, then you can "Run console" in the browser by pressing the "more" options on the top right of the project. Heroku Run Console
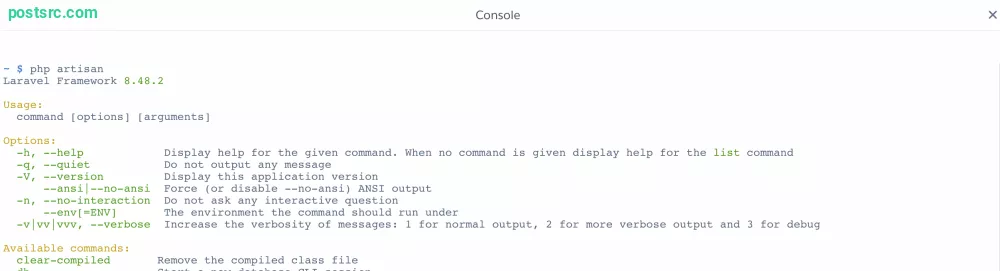
The console command will appear like below. You will have to type in "bash" and hit the "run" button and it will create an online bash console for you. Heroku Run Console Heroku Console
Run "php artisan migrate" to migrate the table migration and press "yes" to continue executing the command. The table will be migrated and now you can "php artisan tinker" and query your model to see for the result.
php artisan migrate
Heroku Console Command Runing "php artisan migrate". By now you should have the table migration migrated and you can perform CRUD operation and have the data stored inside the database. If you found this tutorial to be helpful do share it with your friends, cheers and happy coding 🍻.


Leave a reply