In this post, I am going to walk through how to set up a custom domain name for Heroku apps in easy steps. Please be aware that you have to set up your application with Heroku first. If you have not done so I will write a tutorial detailing the steps.
We will also be setting up a free SSL certificate that's provided by Let's Encrypt by utilizing the Cloudflare tools for ease of installation and to lessen the procedure of getting it up and running. Let's Encrypt Homepage
Getting Started
To get started we first need to link the domain to our Heroku application and to do that just run `heroku domains:add example.com --app=awesomeapp` do make sure to use the `--app` flag to ensure you specify the right application. For an alternative, in the settings section of the Heroku website, you can visit the "Domains and certificates" tab. From there you can add the domain that you have purchased.
heroku domains:add example.com --app=awesomeapp
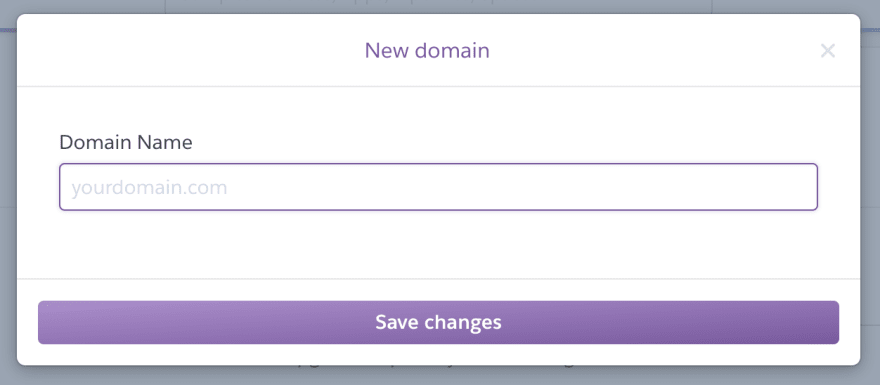
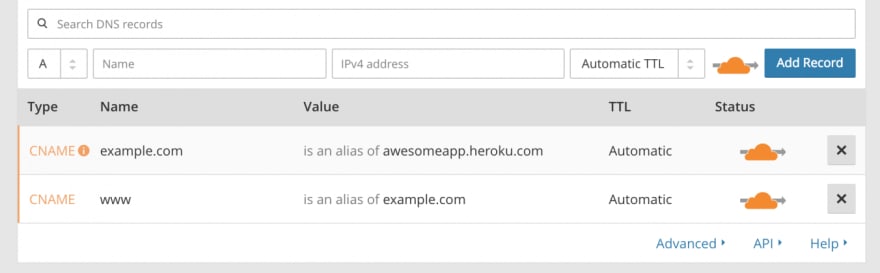
Heroku New Domain Once you have added the domain, now we have to set up our Cloudflare site settings. If you haven't set an application yet, make sure to add it first, and now let's set up the DNS. In the DNS tab, you will need 2 CNAME and it will look like the following.
Cloudflare DNS Page By now you will be able to visit your website with the domain name that you have specified. Next head on to the Crypto tab and enable the SSL certificate. By default, this will install Let's Encrypt and by doing so, you will be able to access the website using the HTTPS protocol.
Setting up a Custom Domain name and obtaining a FREE SSL certificate for Heroku Apps is very easy with the help of Cloudflare. If you found this tutorial helpful, do share it with your friends, and otherwise, if you guys face some problem do comment out below and let's start the discussion. 😍 Finally, thank you Cloudflare for making the process painless and accessible for everyone!
Alaz
Week-end developer currently experimenting with web, mobile, and all things programming.


Leave a reply