Setting Up Google Material Icon for Laravel Project
Learn how to set up and running Google Material Icon packs for your Laravel project the easy way. Make use of hundreds of Google free available icons to better provide visualisation to your website content.
It's been a while since we have last written a post here and in the post, you will learn how to set up Google Material Icons for any project especially Laravel. This setup requires several steps but it's quite easy and straight forward so let's get started. Google Fonts Homepage
Step 1: Install Google Material Icons
There are 2 ways to install Google Material Icons which are 1st by locally saving the Icons directly on the project and 2nd by using the available CDN links provided by Google. For this example, we'll be using the 2nd method which is using the CDN, and also show you all the possible ways to reference the icons type (Outlined, Filled, Rounded, Sharp, Two-tone icons). Below is the CDN links for all of the types as mentioned above:
Do note that the "|" pipe divider is instructing the CDN on which icons to load. The code above should be placed within the "head" tag of your Laravel layouts file.
In addition to referencing the Material Icons CDN you will also need to define the "class" to render the font properly. The bare minimum that you have to define is like below. Do note that the "font-family" that's specified in this case is the "Material Icons", if you do need the other icon such as "Material Icons Outlined" then you will have to specify another class "material-icons-outlined" and have it reference the "font-family.
.material-icons {
  font-family: 'Material Icons';
  font-weight: normal;
  font-style: normal;
  font-size: 24px;  /* Preferred icon size */
  display: inline-block;
  line-height: 1;
  text-transform: none;
  letter-spacing: normal;
  word-wrap: normal;
  white-space: nowrap;
  direction: ltr;

  /* Support for all WebKit browsers. */
  -webkit-font-smoothing: antialiased;
  /* Support for Safari and Chrome. */
  text-rendering: optimizeLegibility;

  /* Support for Firefox. */
  -moz-osx-font-smoothing: grayscale;

  /* Support for IE. */
  font-feature-settings: 'liga';
}
In your Laravel project define the class above from within your "CSS" or "SCSS" file which is typically located form within the "resources/css/" directory.
resources/css/app.css

# or

resources/css/app.scss
If you do require to run through Laravel Mix then do run the "yarn watch" or "yarn dev" command and let it be compiled.
yarn prod
Step 3: Use the Icon in Laravel Blade
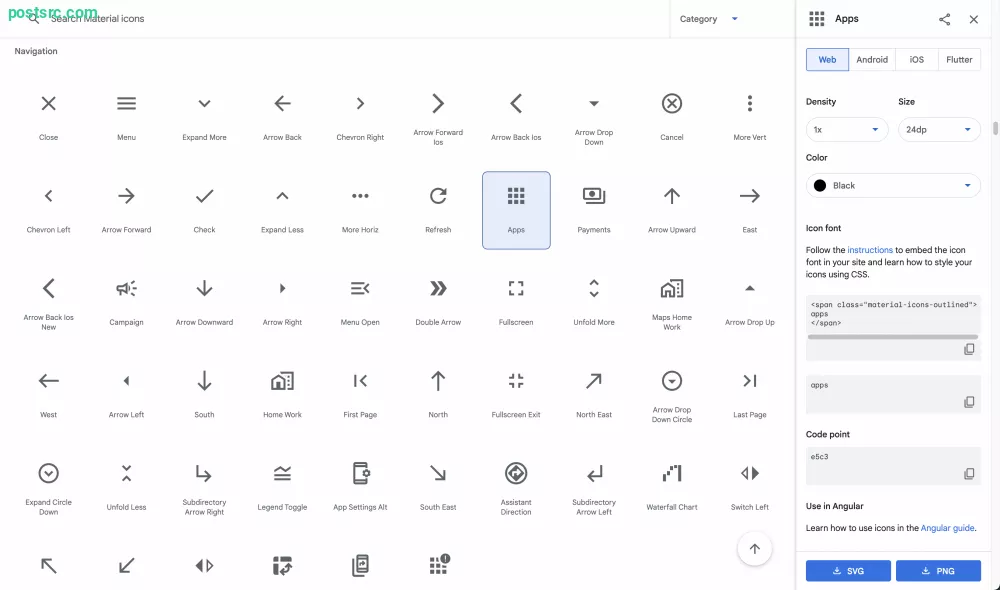
Now from within your Laravel Blade, you can call any of the icons available from the Google Material Icons page.
To self-host, the material icon you have to make sure to specify it using the "@font-face" directive but do make sure that you have the icons downloaded and placed in your Laravel.
By now you should be able to Set Up Google Material Icon for Laravel Project. If you find this post to be useful do make sure to share it with your friends and cheers. If you have anything to discuss do start the discussion below the post.


Leave a reply