Nuxt.js has 2 different rendering modes and one of them is to generate a static website. In this post, you'll learn how to create and deploy the Nuxt.js example app with Vercel.
First thing first, let's generates a new Nuxt.js app by running any of the commands below.
Set up Nuxt.js Example Project
First thing first, let's generates a new Nuxt.js app by running any of the commands below.
# if you are using yarn
yarn create nuxt-app example-app

# if you are using npm
npm init nuxt-app example-app

# if you are using npx
npx create-nuxt-app example-app
During the options/installation wizard, If you are asked which rendering mode to use, select Single Page App. Once it's generated, "cd" into the project directory and make an initial commit to push it to your online repository (Github, Bitbucket, or any that you use).
cd example-app

Deploy Nuxt.js Project to Vercel
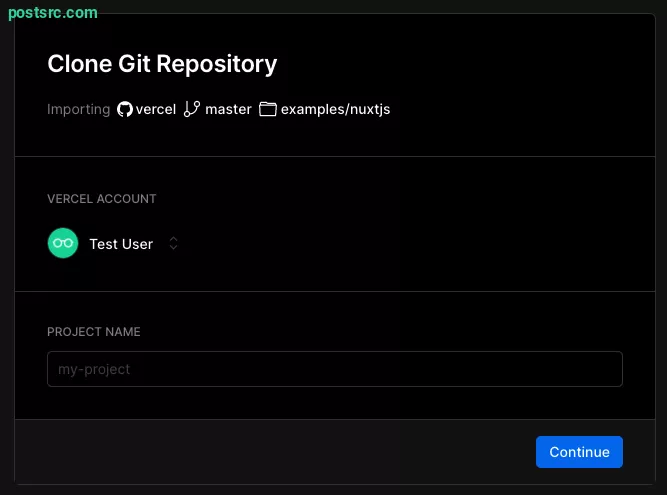
Now with the newly created Nuxt.js example project, it's time to create a new Vercel Account and import the repository to Vercel. The setup is painless and just follow along with the instructions that they have provide.

After the example project has been imported, any branch that is available in the repository will generate Preview Deployment and any changes commonly the "main" (master) branch will be the production deployment. Each branch will have its own dedicated links but what's shown to the user is the main branch.

Make sure to update the build and deployment settings as follow. By now Vercel will provide you with the URL that is publicly accessible and if you need to customize it just visit the "Domains" section of the project settings page.
Have fun and give it a try! The next tutorial will be on how to add Deployment Hooks and Environment variables so do give that a read to supercharge your Nuxt.js website.


Leave a reply