
Recently alpine js just released the collapse plugin and this plugin "allows you to expand and collapse elements using smooth animations". In this short snippet, you will learn how to build a nested collapsing component using the collapse plugin.
For this example, we'll be using the CDN for the collapse plugin so add the following code to your head tag otherwise use the NPM to install it to your project.
Include Alpine JS Collapse Plugin
For this example, we'll be using the CDN for the collapse plugin so add the following code to your head tag otherwise use the NPM to install it to your project.
<!-- Alpine Plugins -->
<script defer src="https://unpkg.com/@alpinejs/collapse@3.x.x/dist/cdn.min.js"></script>

<!-- Alpine Core -->
<script defer src="https://unpkg.com/alpinejs@3.x.x/dist/cdn.min.js"></script>
Crate Nested Collapsing Component
To create a nested component that is also collapsable, you can define another Alpine JS data and specify the same property as the parent. component. By doing so the nested component will also be toggleable which makes the sub-component have its own state. So in order to toggle the innermost component, you will have to toggle it twice. Do refer to the code below for the full example.
<div x-data="{ expanded: false }">
    <button @click="expanded = ! expanded">Toggle Content</button>

    <div x-show="expanded" x-collapse>
      <p>Content Here</p>

      <div x-data="{ expanded: false }">
        <button @click="expanded = ! expanded">Toggle Content</button>

          <p x-show="expanded" x-collapse>nested content here</p>
      </div>
    </div>
</div>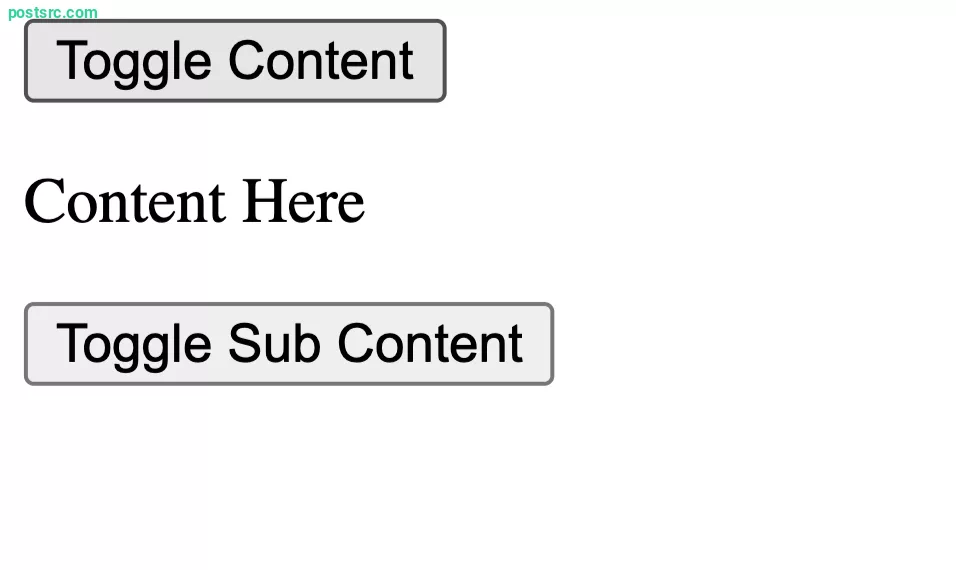

Do note that since the behavior and implementation differ from Alpine's standard transition system, this functionality was made into a dedicated plugin by the Alpine Js team.